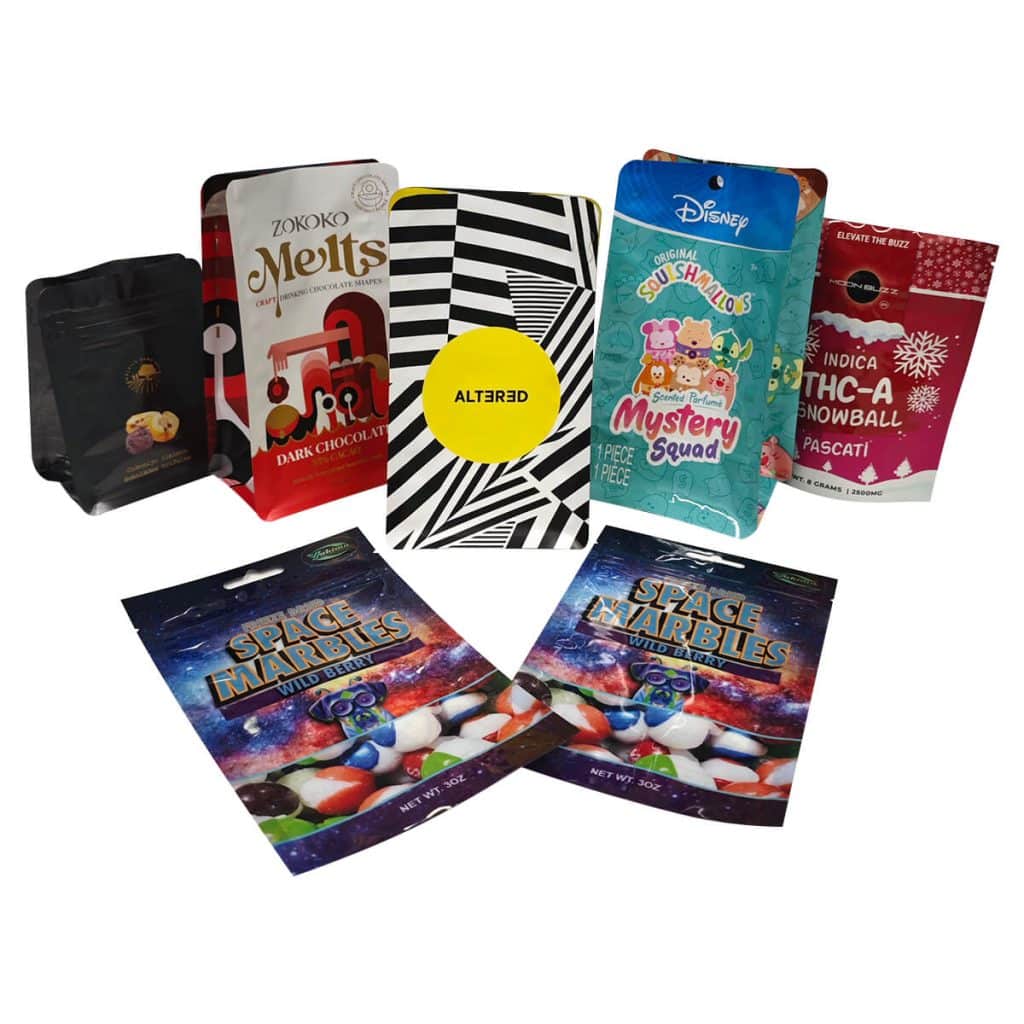
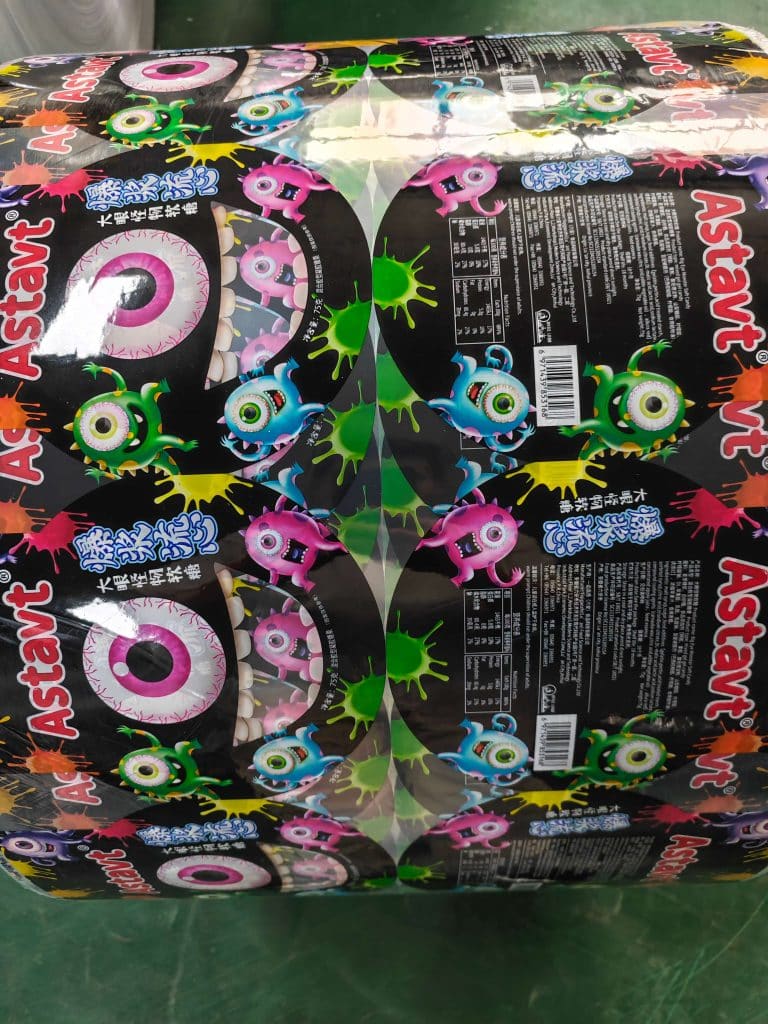
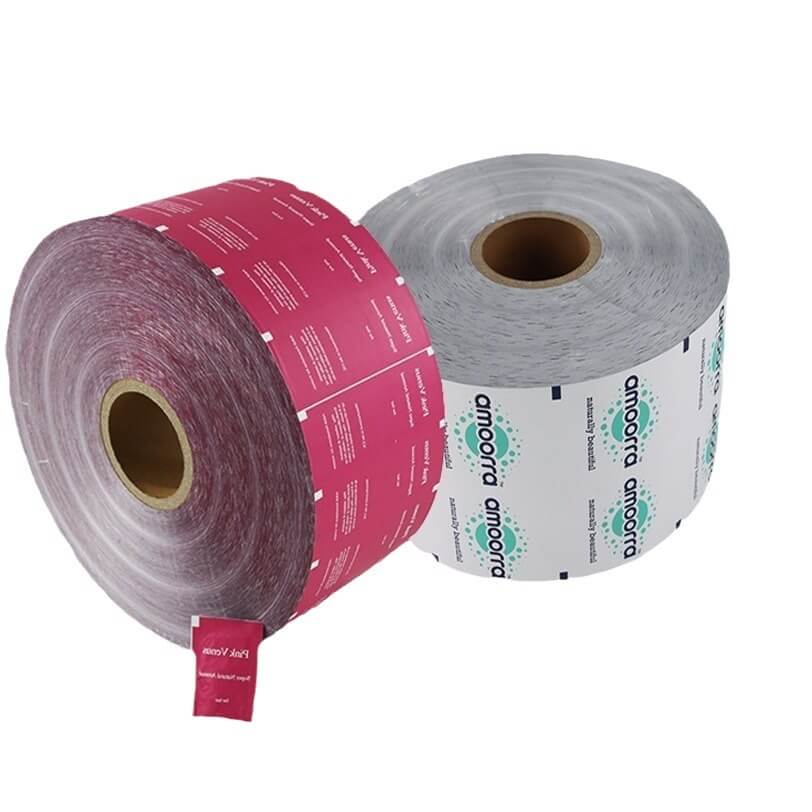
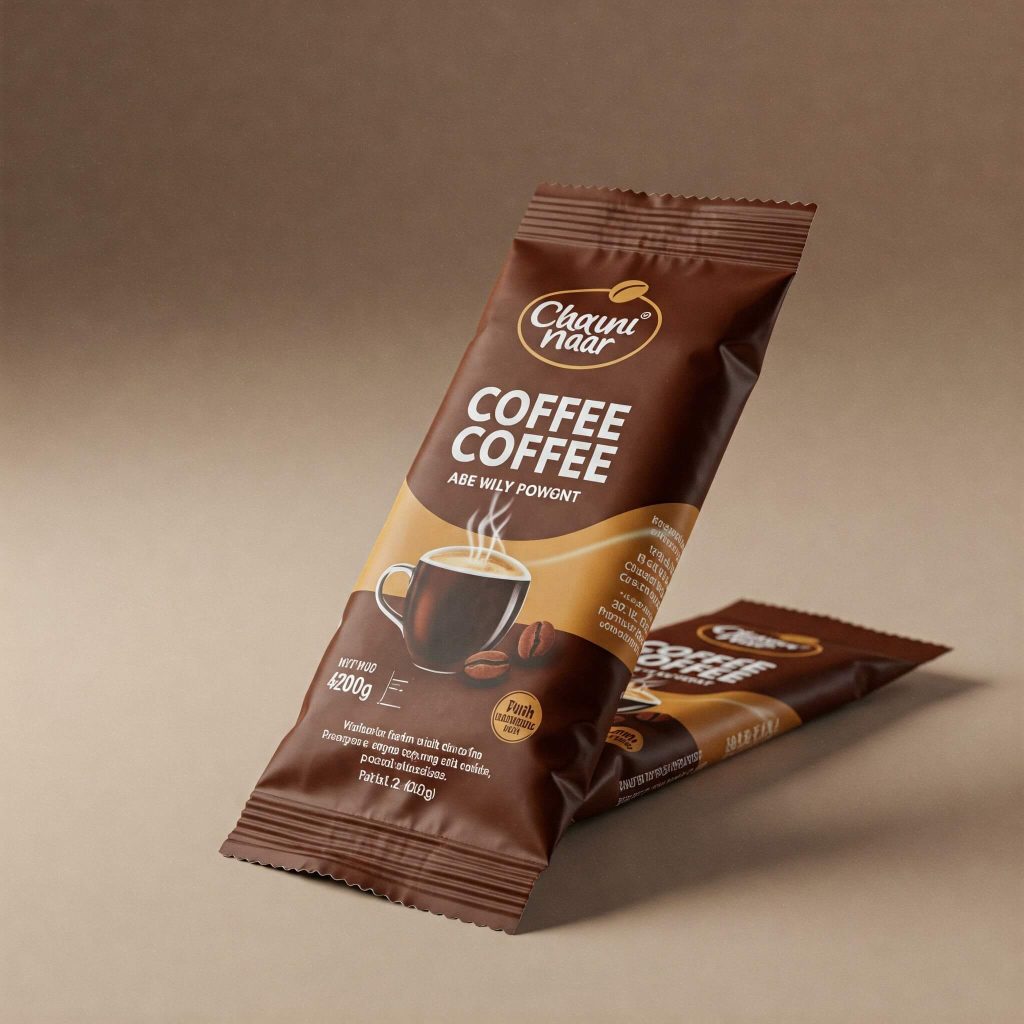
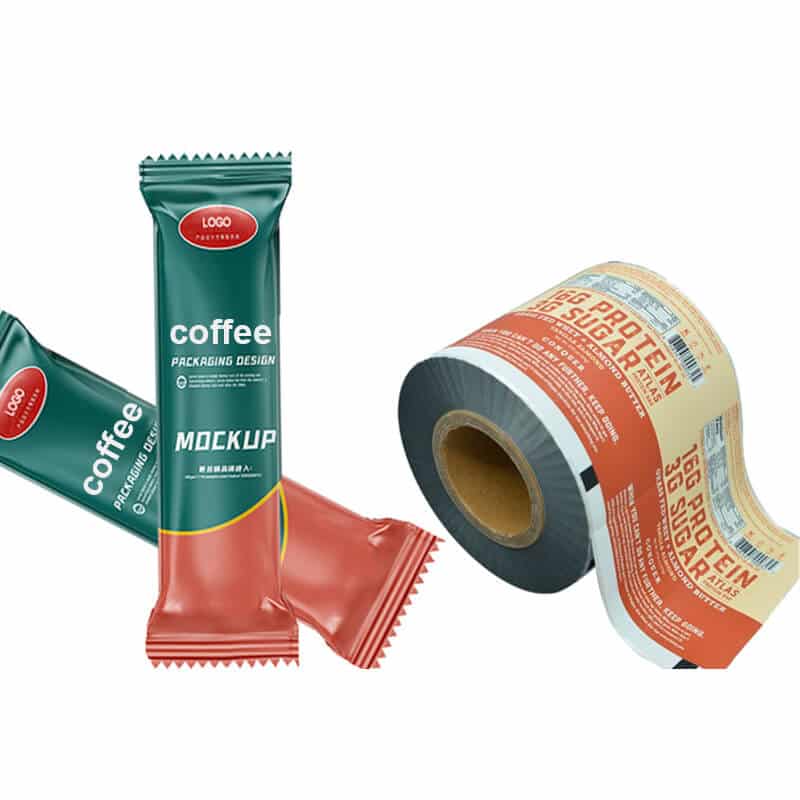
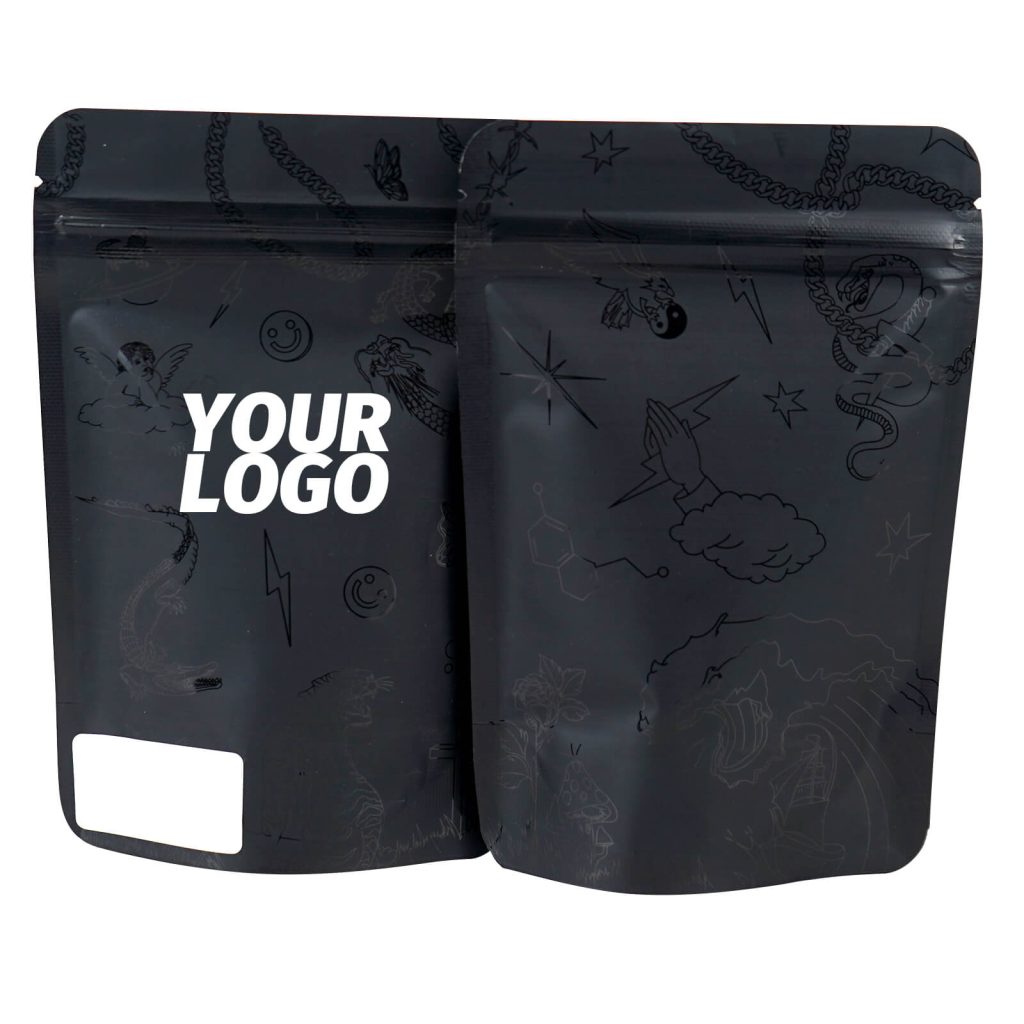
Polyester bags are widely used for marijuana and food storage. Polyester bags have a high barrier property against moisture and oxidation, which effectively protects the food and other packaged goods inside the bag.
The excellent tear and puncture resistance also protects the contents of the bag and keeps them intact during transportation and storage.
Preparation work for storing food in mylar bags:
Preparation
Materials required:
Mylar bags: Select bags suitable for the volume and type of food (recommended thickness 5-7 mil).
Oxygen absorber (optional): Helps remove oxygen from the bag to extend shelf life.
Desiccant (optional): to protect food from moisture.
Heat sealing equipment:
Heat press sealer, iron or hair straightener.
Foods:
It is suitable for storing dry foodstuffs such as rice, flour, beans, cereals, nuts, dried fruits, tea, etc.
Labels (optional): mark the contents and date of packaging.
Cleaning tool: use a damp cloth or paper towel to remove dust and impurities from the bag.
A bucket: to keep bugs, mice, etc. from chewing on it
Lid: for sealing on the bucket
Steps for storing food in mylar bags
Step 1: Prepare the food
Confirm the condition of the food:
Make sure the food is dehydrated, with no signs of moisture or spoilage.
If the food needs to be washed, let it dry thoroughly before packing.
Portion Adjustment:
Divide the food into small portions according to the capacity of the Mylar bag for ease of use and storage.
Step 2: Inserting the Mylar Bag
Open the bag:
Open the Mylar bag and make sure the inside of the bag is clean and free of debris.
Fill with food:
Pour food into the bag, leaving about 2-3 inches (5-7 cm) of space at the top for easy sealing.
Add Oxygen Absorber (optional):
Add the appropriate amount of oxygen absorbent for the bag’s volume (e.g., about 300 cc per 1 gallon).
The oxygen absorber should be opened immediately upon use to avoid prolonged exposure to air.
Add desiccant (optional):
If the food tends to absorb moisture (e.g., flour or grains), add an appropriate amount of desiccant
Step 3: Exhausting the air
Manually exhaust the air:
Gently squeeze the bag by hand, from the bottom to the top, to expel as much air as possible from the bag.
Select vacuum seal (optional):
If vacuum equipment is available, a vacuum can be used to suck out excess air from the bag before sealing.
Step 4: Mylar Bag Sealing
Choose a suitable sealing tool for the operation:
When we are storing food, we have to use a heat seal to store the food better and add an oxygen absorber in the bag so that our food can be stored longer. Sealing Mylar Bags
Is the key step to keep the food can be stored for a long time; for this reason, summarized below several suitable heat sealing methods:
1. Sealing with a heat sealer
A heat sealer is a machine specifically designed to seal plastic and Mylar materials with optimal results.
Steps:
Prepare the bag: Place the item in a Mylar bag, leaving 2-3 cm of top space for sealing.
Set up the heat press sealer:
Plug in and adjust the temperature to medium (depending on the thickness of the bag).
If the unit needs to warm up, wait 1-2 minutes.
Place the bag: Place the open end of the Mylar bag into the sealing slot of the heat sealer.
Sealing operation:
Press down the handle of the sealer and hold it for 2-3 seconds (according to the machine manual).
Release the handle and check that the seal is even and flat.
Double sealing (optional): To ensure a tight seal, another seal can be made under the first one.
2. Sealing with a household iron
If you do not have a heat press sealer, you can use a household iron instead.
Steps:
Prepare the bag: Place the items in the bag, leaving 2-3 cm at the top for sealing.
Set the iron:
Set the iron to a medium temperature (e.g., “cotton” or “polyester”).
Make sure that the steam function is turned off.
Place the bag:
Lay the bag flat on a heat-resistant surface (e.g., ironing board or wooden board).
Place a thin layer of baking paper or a towel over the Mylar bag to avoid direct contact with the bag.
Sealing Operation:
Press the iron against the opening of the bag and hold for 3-5 seconds.
Slowly move the iron to seal a continuous line along the entire opening.
Checking the seal: Make sure the seal is flat and free of gaps. If there are any unsealed areas, reopen the bag.
3. Sealing with hair clips
Hair clips are a quick and easy sealing tool, especially for small Mylar bags.
Steps:
Prepare the bag: Place items in the bag, leaving space for the top closure.
Set up the bobby pin:
Plug in the hair straightener and adjust to a medium temperature.
Wait for the hair straightener to warm up (approximately 1-2 minutes).
Clip the bag opening:
Clip the open portion of the bag in the hair straightener, starting at one end of the bag.
Closing Operation:
Slowly slide the hair straightener to the other end of the bag, making sure the entire opening is sealed tightly.
Repeat if a wider seal is required.
Checking the seal: Check that the seal is even and firm.
4. Use of vacuum sealer
A vacuum sealer not only seals the bag but also extracts the air inside it, making it suitable for long-term preservation.
Steps:
Prepare the bag:
Place items in a Mylar bag. If the bag is not compatible with the vacuum sealer, place the Mylar bag in a unique vacuum bag.
Place the bag:
Insert the open part of the Mylar bag into the vacuum sealer’s sealing slot, making sure that the bag opening is flat and free of wrinkles.
Vacuum and seal:
Start the machine and begin to extract the air from the bag.
When the air is completely removed, the machine will automatically heat-seal the bag.
Check seal:
Make sure the bag is completely sealed, and if necessary, reinforce the seal with a heat press sealer or iron.
5. Manual Air Venting + Oxygen Absorbent Sealer
An oxygen absorber creates a near vacuum inside the bag, making it suitable for use when a vacuum sealer is not available.
Steps:
Prepare the bag:
Load items into the bag and place the appropriate amount of oxygen absorber according to the bag capacity.
Manual Venting:
Gently squeeze the bag by hand, starting from the bottom, to squeeze out as much excess air as possible.
Sealing Operation:
Seal the bag using a heat press sealer, iron, or hair straightener.
Monitor Status:
Within 24-48 hours, the bag will gradually tighten due to the oxygen absorber, indicating successful sealing.
6. Temporary Clip Seal
Ideal for short-term storage or when frequent access is required.
Steps:
Prepare the bag: Place the item in the Mylar bag.
Fold the bag opening:
Fold the opening of the bag down 2-3 times as tightly as possible.
Secure the closure:
Use a clip or binder to hold the folded bag opening.
Recommended reinforcement:
Clip-sealed bags can be placed in additional sealed containers for added protection.
Considerations for Encapsulating Mylar Bags
Select the appropriate thickness:
Mylar bags with a thickness of 5-7 mil are more durable and suitable for long-term storage.
Seal promptly:
Especially when using oxygen absorbers, try to complete the encapsulation as quickly as possible to minimize air exposure time.
Check the seal:
Gently pull the seal after encapsulation to ensure there are no loose or leaking parts.
Storage Environment:
Store the encapsulated mylar bag in a cool, dry place away from direct sunlight and high temperatures.
Step 5: Place the sealed mylar bag into the pail.
Press the bag gently with your hand to ensure there are no air leaks.
If an oxygen absorber is used, observe if the bag shrinks within 24-48 hours due to oxygen reduction.
Close the lid after inspection to prevent insects or other organisms, such as rodents, from chewing on the bag.
Step 6: Labeling and Storage
Labeling Information:
Use the label to record the type of food and date of packaging on the bag.
Storage Location:
Store sealed Mylar bags in a cool, dry, light-free place.
Avoid heat and direct sunlight for longer shelf life.
Conclusion
We often use mylar bags to store food, and using a heat sealer and iron to heat seal our bags is practical and easy.
Paying attention to the correct method and safe use is essential when using an iron. A well-sealed mylar bag can hold our food for a long time.

